How do I assign a public IP to my virtual machine?
A newly started VM will get an internal IP address from a 10.x.x.x network. These addresses are not reachable from the Internet. You will need to assign a so called "floating IP" address.
Would you like to associate multiple Floating IPs please scroll down to find instructions how to do so.
There are two options to either create or associate an existing public IP to your virtual machine. The first option will show the steps how to create a new floating (public) IP. The second option guides you through the process of associating an already existing floating (public) IP to your virtual machine.
First Option
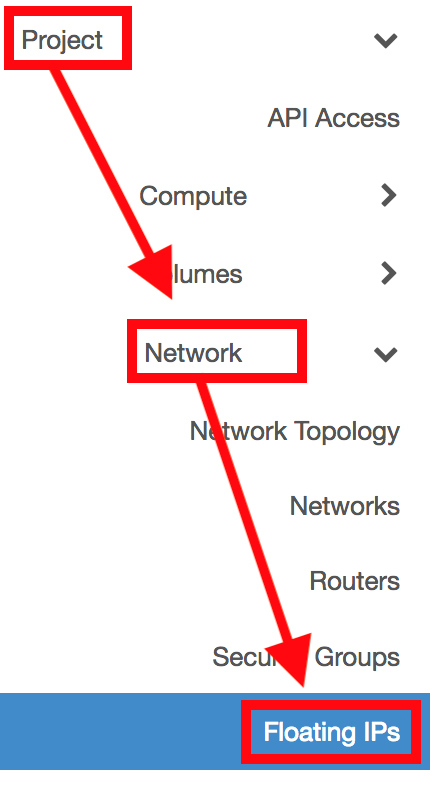
- In the left column of the dashboard interface, click on Project → Network → Floating IPs
- Click on Allocate IP to project

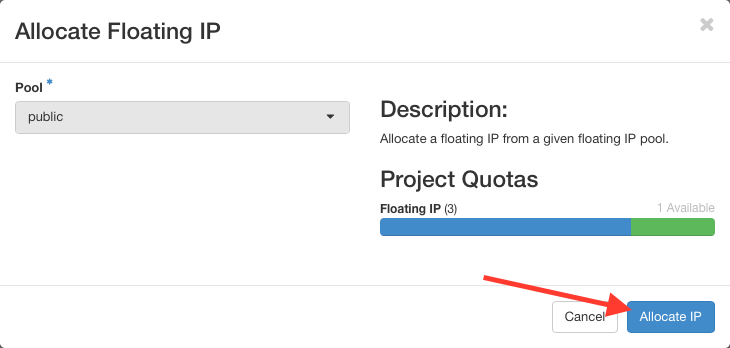
- And now on Allocate IP
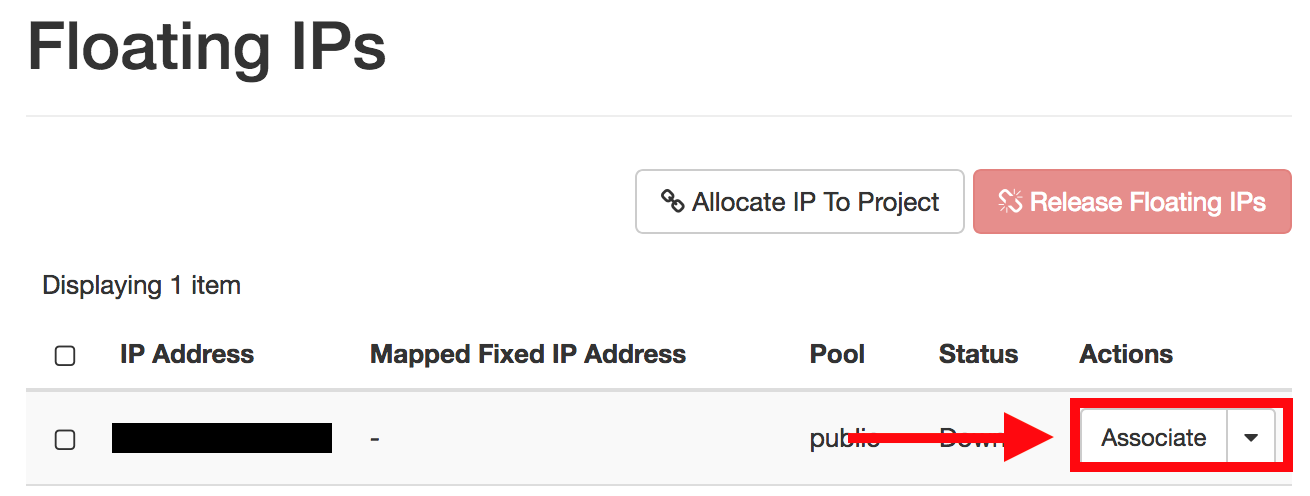
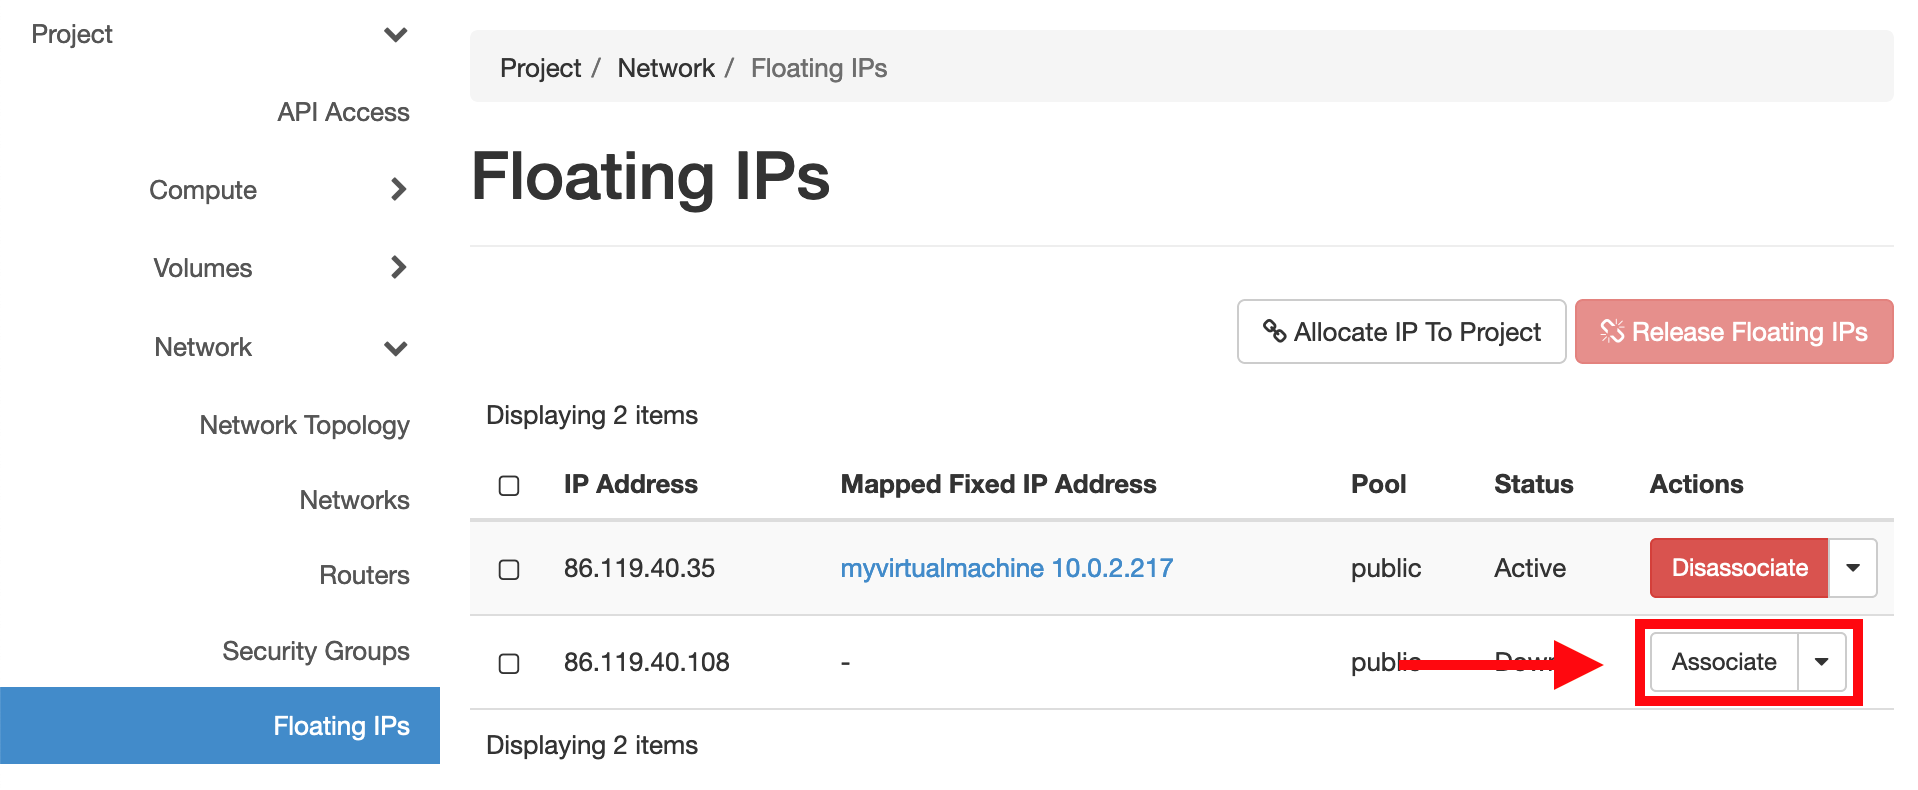
- Click on Associate to add the created floating IP to a virtual machine
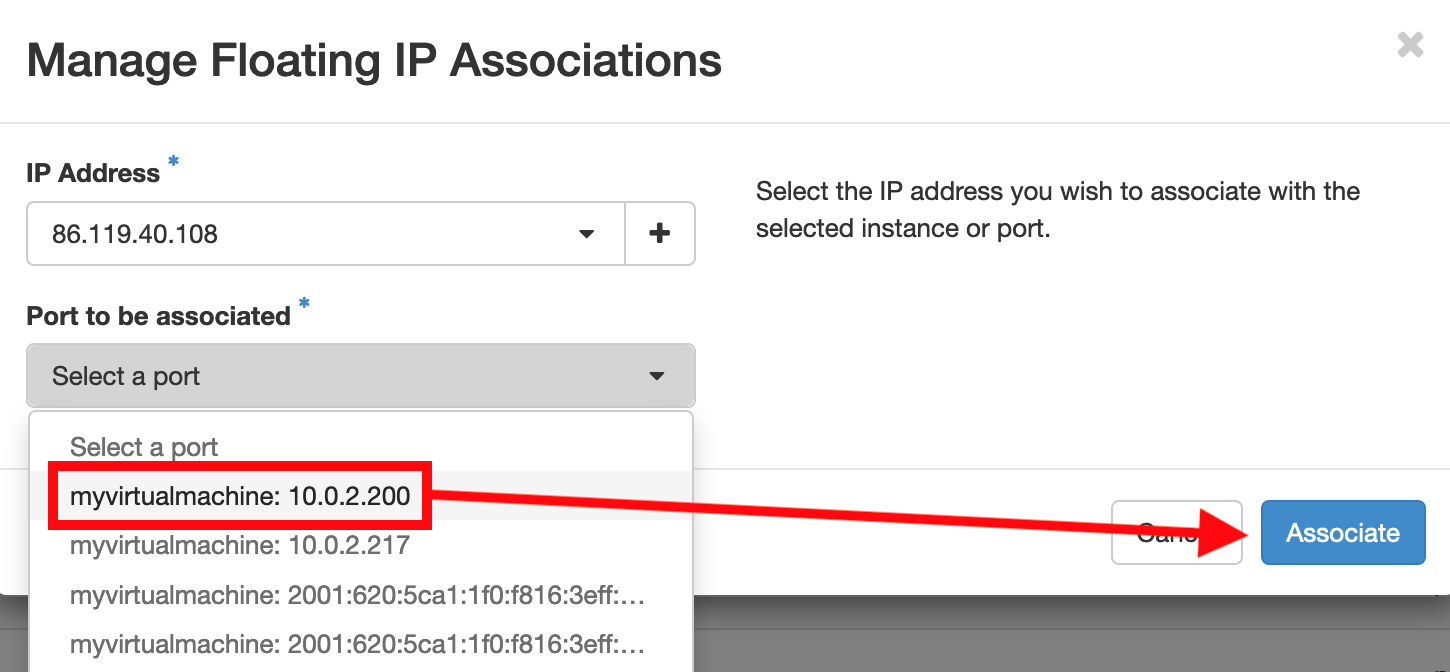
- Select one of your running instances (Select a port).
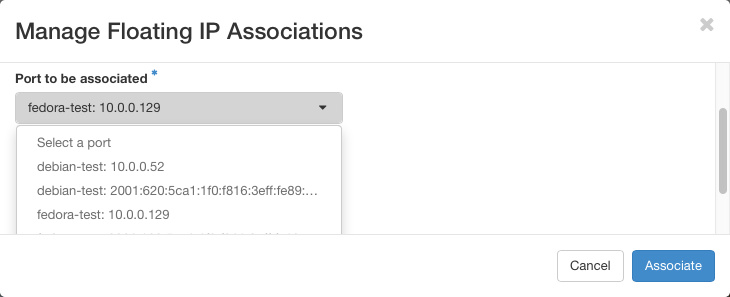
- You can now associate this IP to a running virtual machine. Click on Associate
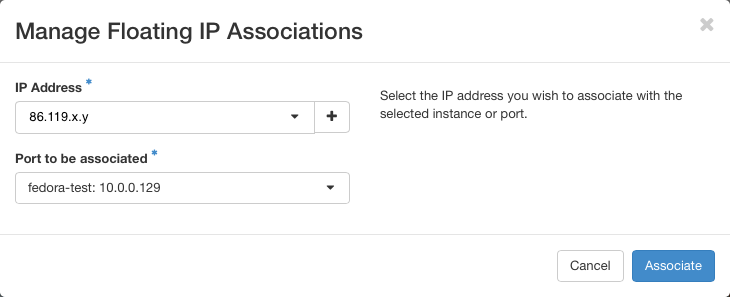
Second Option
- In the left column of the dashboard interface, click on Project → Compute → Instances
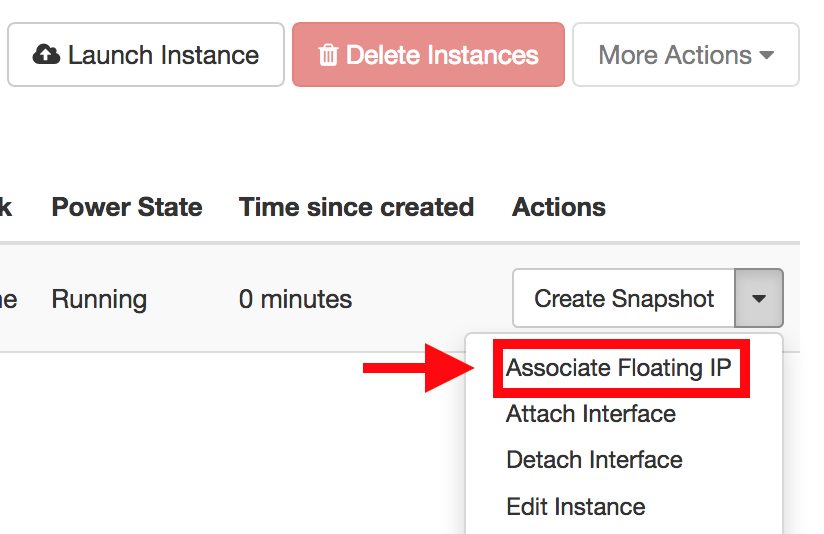
- From the dropdown menu of your running instance select Associate Floating IP
- Under Manage Floating IP Associations klick on "+" and in the next window on Allocate IP to allocate a new floating IP
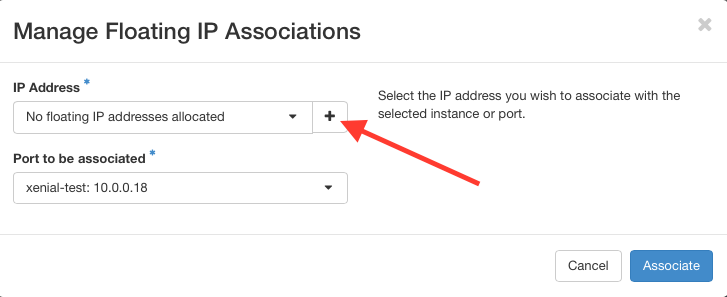

- Select a port (your running instance)
- Associate the IP to your virtual machine. Click on Associate
Associate multiple Floating IPs
For redundancy reasons you can associate multiple floating IPs to a single Virtual Machine. To do so pleasae follow the steps below.
First of all, you need to attach a new interface to your VM. While being in Project -> Compute -> Instances click on the dropdown menu and select "Attache Interface".

Click on the dropdown menu and select the network type "private". Confirm by clicking on "Attach Interface".

The newly created interface should now be visible in your instance overview page.

Now, go to Project -> Network -> Floating IPs and click on associate next to an available IP. If there is no available IP please see above how to create one.
Select the newly created interface followed by a click on "Associate".
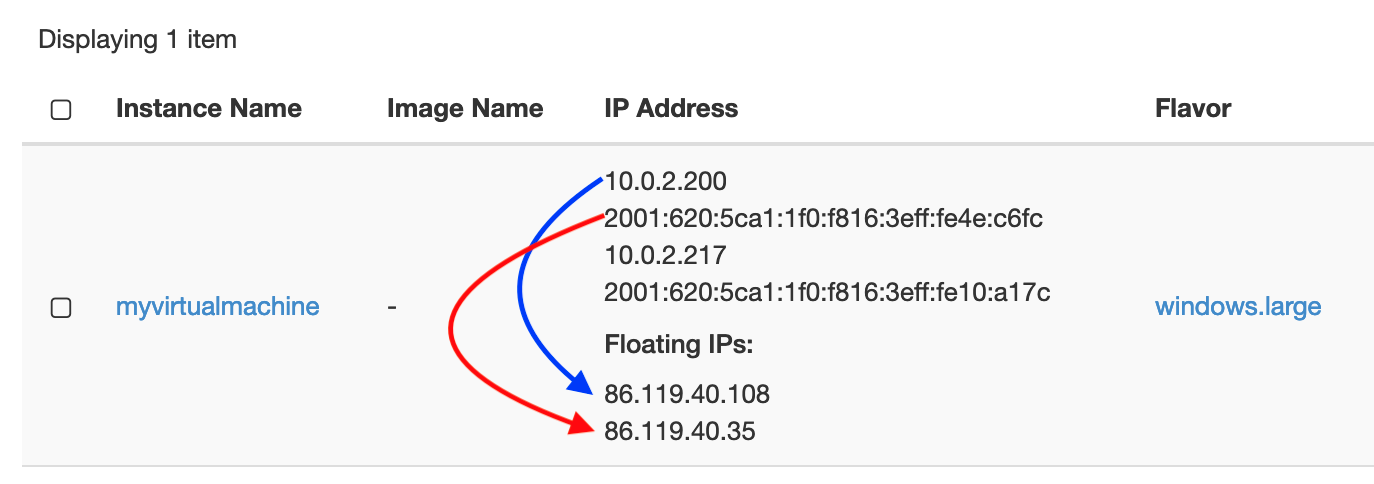
Your instance overview should look like this:
